Disclaimer: Some links in this article may be affiliate links. These links may earn us a small commission, but rest assured, our reviews are unbiased and not influenced by these affiliations. Your trust is our priority, and we are committed to providing honest assessments of the products we recommend.
Are you tired of perfecting your vocal tracks, only to find unwanted pops ruining your pristine takes? Look no further than the humble pop filter. As a professional podcaster, I can attest to the benefits of incorporating pop filters for condenser microphones as they will truly add a spark to your audio recording setup.
Table of Contents
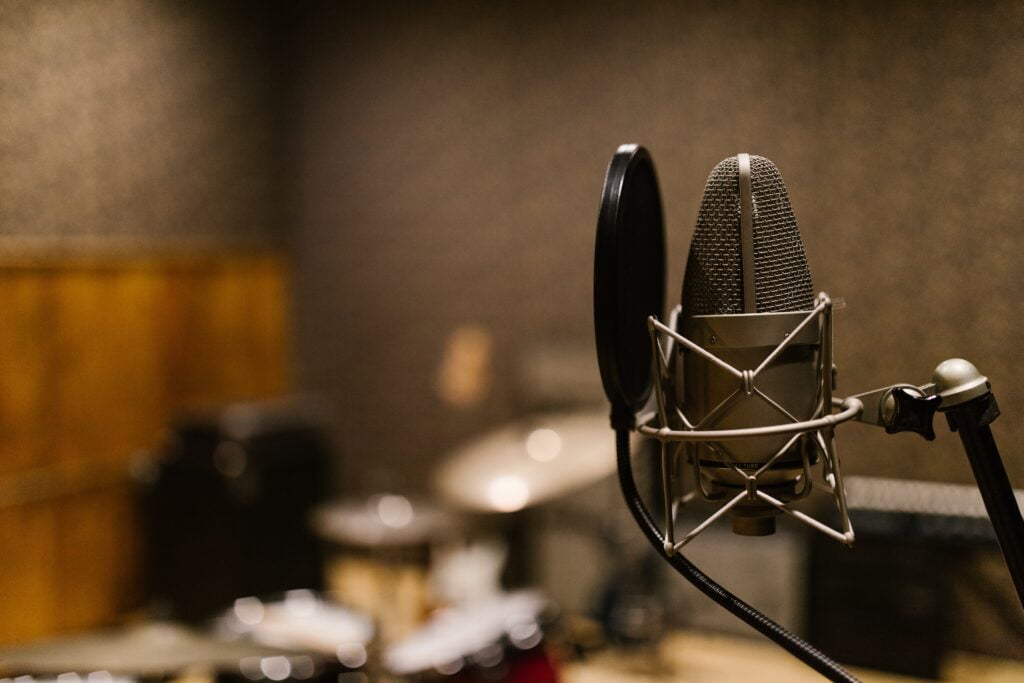
A pop filter is a simple yet effective tool that helps prevent plosive sounds from distorting your microphone’s output. These pops are often caused by strong bursts of air hitting the microphone (think of the letter “p” or “b” sounds). By placing a pop filter between your mouth and the microphone, you can reduce these unwanted sounds and produce cleaner vocal recordings.
But not all pop filters are created equal. In the next few sections, we’ll explore what a pop filter is, how to choose the right one, and how to properly use it to achieve optimal results.
Key Takeaways
- A pop filter is an essential tool for anyone working with condenser microphones
- Pop filters reduce unwanted plosive sounds and protect your microphone from damage
- Choosing the right pop filter is crucial for achieving professional-quality recordings
- Properly positioning and using a pop filter can maximize its effectiveness
- Using a pop filter can improve the clarity of your vocal recordings and reduce post-production editing time
What is a Pop Filter?
Ah, the pop filter. The unsung hero of the recording world. If you’re asking yourself, “What is a pop filter?” then my dear friend, you’ve come to the right place. In simple terms, a pop filter is a tool used to reduce or eliminate plosive sounds (the “p” and “b” sounds) that can occur when recording vocals or other sounds with a microphone. But, as with most things in life, the answer is never quite that simple.
A pop filter, also known as a pop shield or a windscreen, is a small device made up of a circular frame and a thin layer of material that is typically stretched across it. The material can be made of various substances such as nylon, metal or foam, but regardless of the material, the basic purpose remains the same – to diffuse the force of air from your mouth before it hits the microphone’s diaphragm and causes a popping sound.
So, what is a pop filter used for, you ask? Well, as I mentioned earlier, it is primarily used to prevent plosive sounds from ruining your recordings. But that’s not all. A pop filter can also protect your microphone from saliva and moisture that can accumulate during a recording session. Trust me, your microphone will thank you for using one.
Now, you might be thinking to yourself – “I don’t really need a pop filter, do I?” Well, my friend, that depends on what type of recording you are doing. If you’re recording vocals, then a pop filter is a must-have accessory. It can make the difference between a polished, professional-sounding recording and a muffled mess. But even if you’re not recording vocals, a pop filter can still come in handy, especially if you tend to make plosive sounds (we all do, don’t worry) or if you’re working in a humid environment that can cause condensation buildup on your microphone.
So, now that we know what a pop filter is and what it’s used for, it’s time to explore how to choose the right one. But first, let’s take a moment to appreciate the humble pop filter for all that it does. After all, it’s there for us when we need it most – protecting our microphones from our spit and ensuring that our recordings are free from unwanted pops and hisses. Cheers to the pop filter!
Choosing the Right Pop Filter
So, you’ve decided to invest in a pop filter for your beloved mic. Smart move, my friend! But, with so many options out there, how do you choose the right pop filter for you? Let’s dive in and explore the factors to consider before making your purchase.
Compatibility: Not all pop filters are created equal, my friend. Make sure to choose a pop filter that is compatible with your specific microphone model.
Type: There are mainly two types of pop filters – the gooseneck and the fixed. Gooseneck pop filters allow for greater flexibility in positioning, whereas fixed pop filters are less intrusive and easier to handle.
| Type | Pros | Cons |
|---|---|---|
| Gooseneck | Flexible positioning, easy storage | May feel intrusive, needs careful handling |
| Fixed | Easier to handle, less intrusive | Less flexibility in positioning |
Material: The material used to make the pop filter can also influence the sound quality. Nylon mesh pop filters are more affordable and effective at reducing plosive sounds, whereas metal mesh pop filters provide superior clarity but can be pricier.
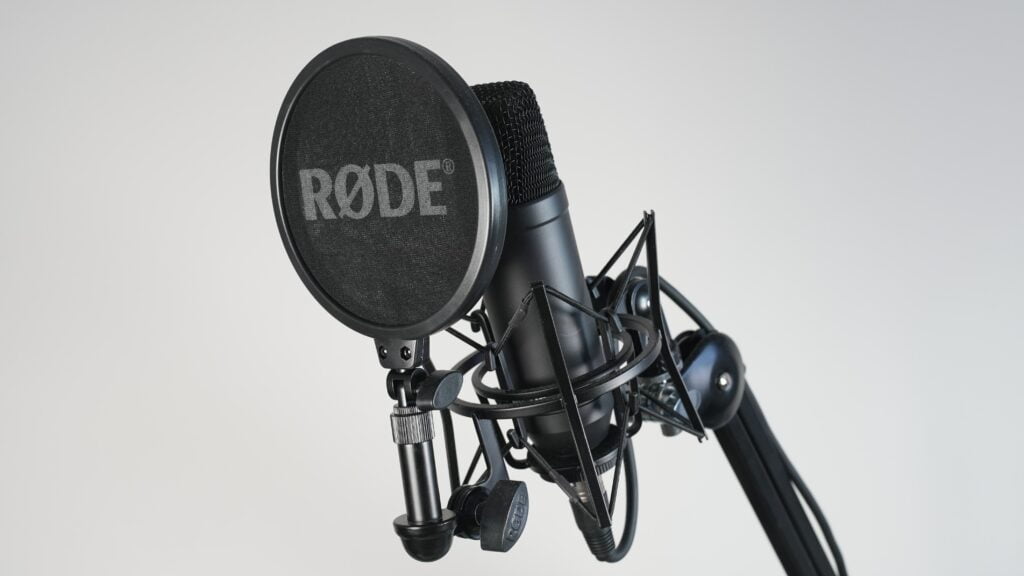
Brand: While there are many brands available on the market, it’s always a good idea to choose a reputable brand that specializes in audio equipment. Some popular brands include Shure, Rode, Juârez, and Neewer.
For beginners, I’d recommend getting the Juârez PF-100 to get started with.
Juârez PF-100
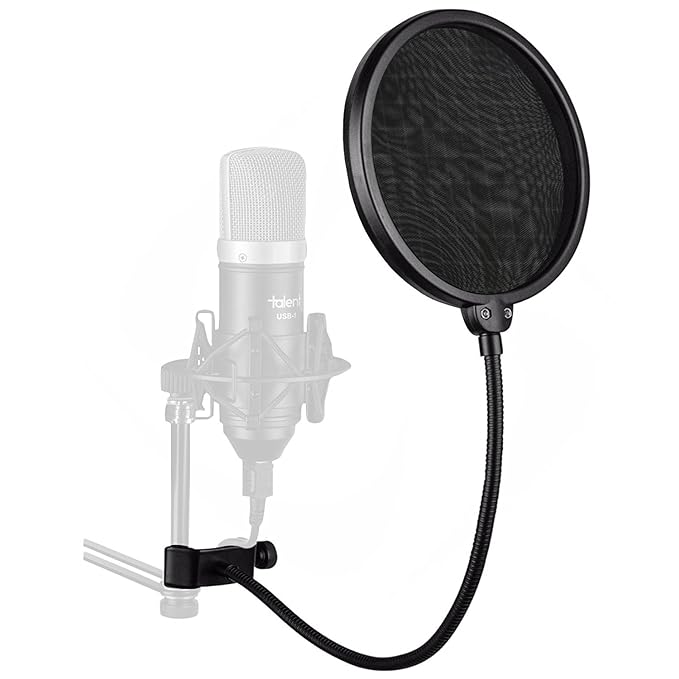
Sonic Savior
- Two-screen pop filter: Blocks air blasts and disperses air pressure for effective blast containment.
- Adjustable gooseneck: Supports filter’s weight, allowing angle and distance adjustment from the microphone.
- Universal compatibility: Fits most tubular mounting booms or mic stands (up to 1.6 inches in diameter).
- Application: Eliminates hissing, lisping, and plosives for singers and actors, enhancing performance.
- Easy and quick mount/unmount: Screw rotating clamp with scratch-proof gripper for user-friendly setup and removal.
By considering these factors, you should be able to select the perfect pop filter for your microphone and recording needs. Happy shopping, my friend!
How to Properly Use a Pop Filter
So, you’ve got your shiny new pop filter for your microphone, but are you using it correctly? Fear not, dear reader, for I am here to guide you through the process.
First things first, make sure your pop filter is securely attached to your microphone stand. You don’t want it slipping mid-recording and causing more harm than good.
Next, position the pop filter approximately 2-3 inches away from your microphone and angle it slightly downwards towards your mouth. This will catch any pesky plosive sounds that may occur while you speak or sing.

Remember to speak or sing directly into the pop filter, rather than from the side, as this will render it ineffective. You’ll also want to maintain a consistent distance from the microphone throughout your recording to ensure consistent sound quality.
One pro tip is to use a pencil or other small object as a reference point to help you maintain the proper distance from the microphone. This can be especially helpful for longer recording sessions.
Finally, be sure to adjust the position and distance of your pop filter as necessary to optimize sound quality. It may take a bit of trial and error, but trust me, it’s worth it for a professional-quality recording.
Now that you know how to properly use a pop filter, go forth and record with confidence, knowing that those pesky pops are a thing of the past.
Benefits of Using a Pop Filter
Ah, the pop filter. It’s more than just a pretty accessory for your microphone – it’s an absolute game-changer. If you’re serious about your audio recordings, then a pop filter is a must-have. Here’s why:
- Stops annoying pops and plosives in their tracks: You know those pesky “P” and “B” sounds that make your recordings sound like you’re popping bubble wrap? The pop filter acts as a barrier between your mouth and the microphone, preventing these sounds from ruining your perfect take.
- Protects your microphone: Not only do plosives sound terrible, but they can also damage your microphone. The pop filter shields your mic from saliva, accidental spitting, and other potential hazards.
- Improves vocal clarity: By reducing plosive sounds, a pop filter can help to clarify your vocals, making your recordings sound more professional and polished.
- Reduces editing time: When you record with a pop filter, you’ll spend less time editing out unwanted plosives and more time actually creating content. Sounds like a win-win to me!

So, there you have it – using a pop filter is a no-brainer. It’s an inexpensive way to vastly improve the quality of your recordings and protect your microphone at the same time. Trust me, your ears (and your microphone) will thank you for it.
Conclusion
So, there you have it! After reading this article, you should have a good understanding of how important a pop filter is for your condenser microphone.
Don’t be tempted to skimp on this essential piece of equipment – investing in a high-quality pop filter will save you time in post-production editing and make your recordings sound more professional.
Whether you’re a seasoned pro or just starting out, using a pop filter for your mic is a no-brainer. So go ahead and take the plunge – your ears (and your listeners) will thank you later!
Frequently Asked Questions
What is a pop filter?
A pop filter is a device designed to reduce plosive sounds, such as the harsh “p” and “b” sounds, when recording vocals with a condenser microphone. It acts as a barrier between the mouth and the microphone, preventing air blasts from directly hitting the microphone diaphragm and causing distortion or clipping in the recorded audio.
How does a pop filter work?
A pop filter typically consists of a fine mesh or nylon screen stretched over a circular or rectangular frame. When placed in front of the microphone, it intercepts the airflow created by plosive sounds and disperses it, preventing it from reaching the microphone diaphragm. This helps to maintain a more even and natural sound during vocal recordings, reducing the need for excessive post-processing or editing.
Why should I use a pop filter?
Using a pop filter can greatly improve the audio quality of your recordings. It helps to eliminate or reduce pops, plosive sounds, and sibilance caused by excessive air hitting the microphone. By minimizing these unwanted sounds, you can achieve cleaner and more professional-sounding recordings. Additionally, a pop filter can also protect your microphone from saliva or other particles that could potentially cause damage over time.
Are there different types of pop filters?
Yes, there are various types of pop filters available. The most common type is the traditional round pop filter, which attaches to a microphone stand or boom arm. There are also clamp-on pop filters that can be easily adjusted and attached directly to the microphone. Additionally, some condenser microphones come with built-in pop filters. The choice of pop filter depends on personal preference, microphone setup, and recording environment.
How far should I position the pop filter from the microphone?
It is generally recommended to position the pop filter about two to three inches away from the microphone. This distance helps to capture and disperse the plosive sounds effectively while still allowing clear and unobstructed access for your vocals. However, it’s important to experiment and find the right distance that works best for your specific microphone and recording setup.
Can I use a pop filter with other types of microphones?
While pop filters are commonly used with condenser microphones, they can also be beneficial when recording with dynamic microphones or even during live performances. Although dynamic microphones are less prone to plosive issues, using a pop filter can still help improve the overall sound quality. Additionally, some singers or broadcasters may prefer to have the added protection and peace of mind that a pop filter provides.
How do I clean and maintain my pop filter?
Cleaning and maintaining your pop filter is relatively simple. If your pop filter has removable screens or covers, you can gently remove them and wash them with mild soap and water. Make sure to thoroughly rinse and dry them before reattaching to the frame. For pop filters with fixed screens, you can use a soft brush or cloth to remove any dust or debris. Regular cleaning will help ensure optimal performance and longevity of your pop filter.
Can I use a homemade pop filter?
Yes, you can create a DIY pop filter using materials such as a sieve, pantyhose, or a PVC pipe. While these homemade options may not offer the same level of precision and durability as a professionally manufactured pop filter, they can still provide some level of plosive reduction. However, it’s worth noting that using a dedicated pop filter specifically designed for microphone use will generally yield better results in terms of audio quality and overall effectiveness.
Disclaimer: Some links in this article may be affiliate links. These links may earn us a small commission, but rest assured, our reviews are unbiased and not influenced by these affiliations. Your trust is our priority, and we are committed to providing honest assessments of the products we recommend.